Article
Radiographs are generally viewed on a light-box. Proper viewing conditions are very important when interpreting a radiograph. The viewing conditions can enhance or degrade the subtle details of radiographs.
Interpretation of radiographs is an acquired skill that is perfected over time. By using the proper equipment and developing consistent evaluation processes, the interpreter will increase his/her probability of detecting defects.
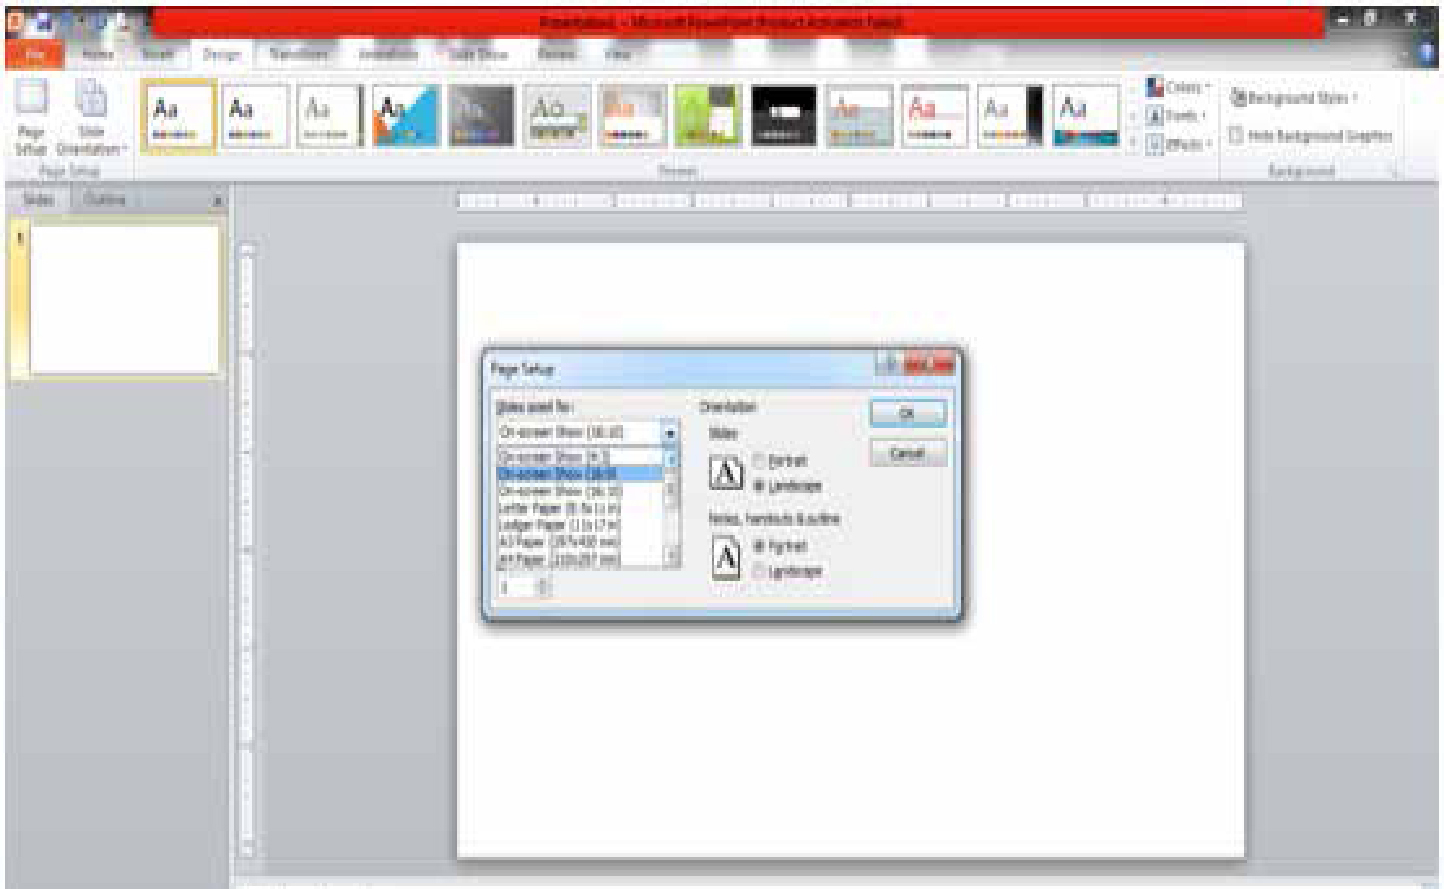
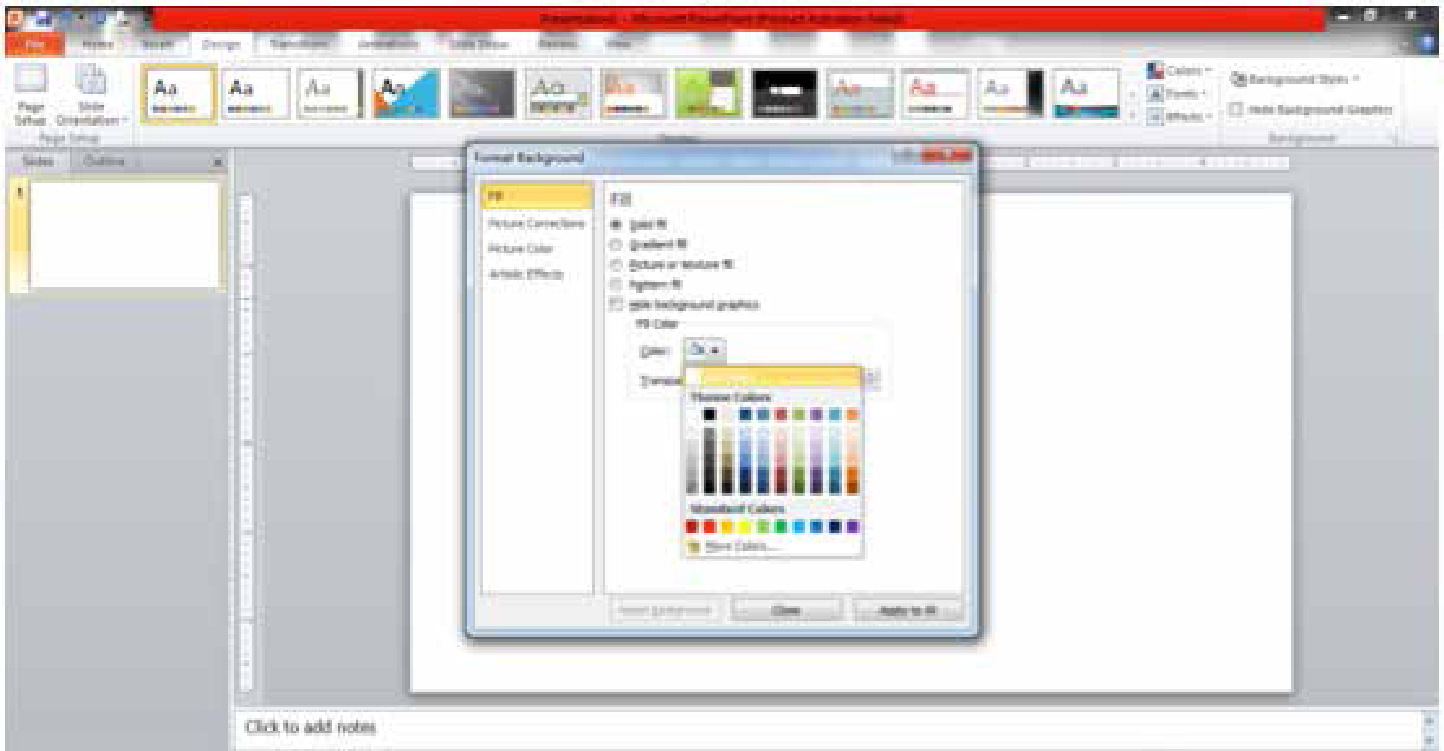
A new generation of laptop/notebook/mobile phone panels uses white LEDs as the backlight source. This article describes simple steps to convert a laptop or mobile phone screen into a temporary radiograph viewer.
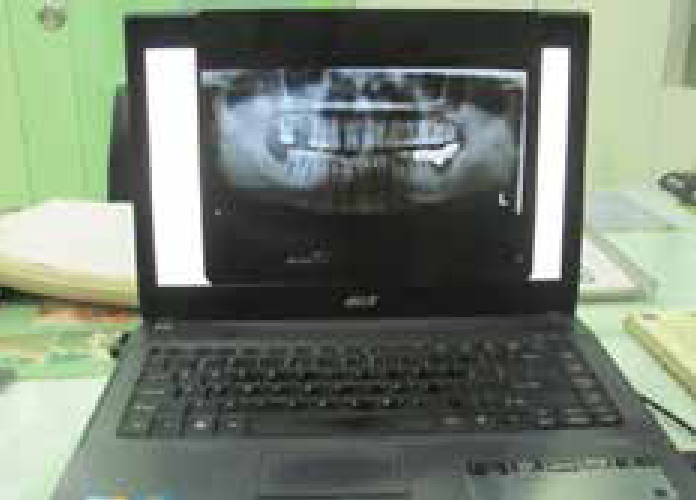
Now the screen will work as a high resolution radiograph viewer (Figure 3). The same ‘PowerPoint’ slide can be saved in JPEG format and can be used in other devices such as cellphones to view intra-oral radiographs (Figure 4).


It is important that room illumination is arranged so that there are no reflections from the surface of the film under examination.
